Configuring the Microsoft Remote Desktop client on Mac OS X

You must have the name of the machine you want to connect to.

You must install Microsoft Remote Desktop from the app store.

  1. Launch the Windows app

    Windows App logo

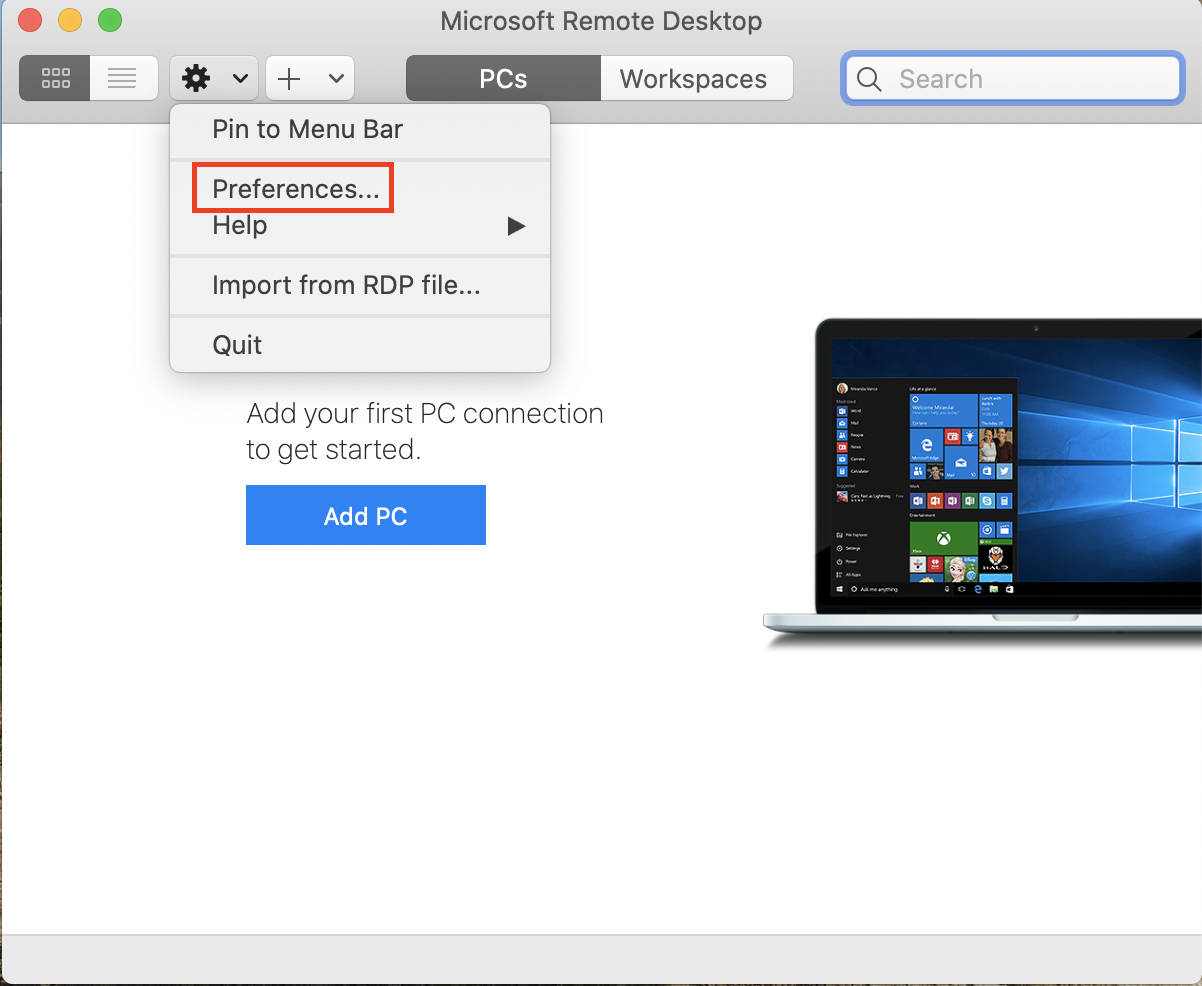
  2. Click the Settings gear, and select Preferences...
    Screenshot of the Microsoft Remote Desktop interface showing the Preferences menu option highlighted.

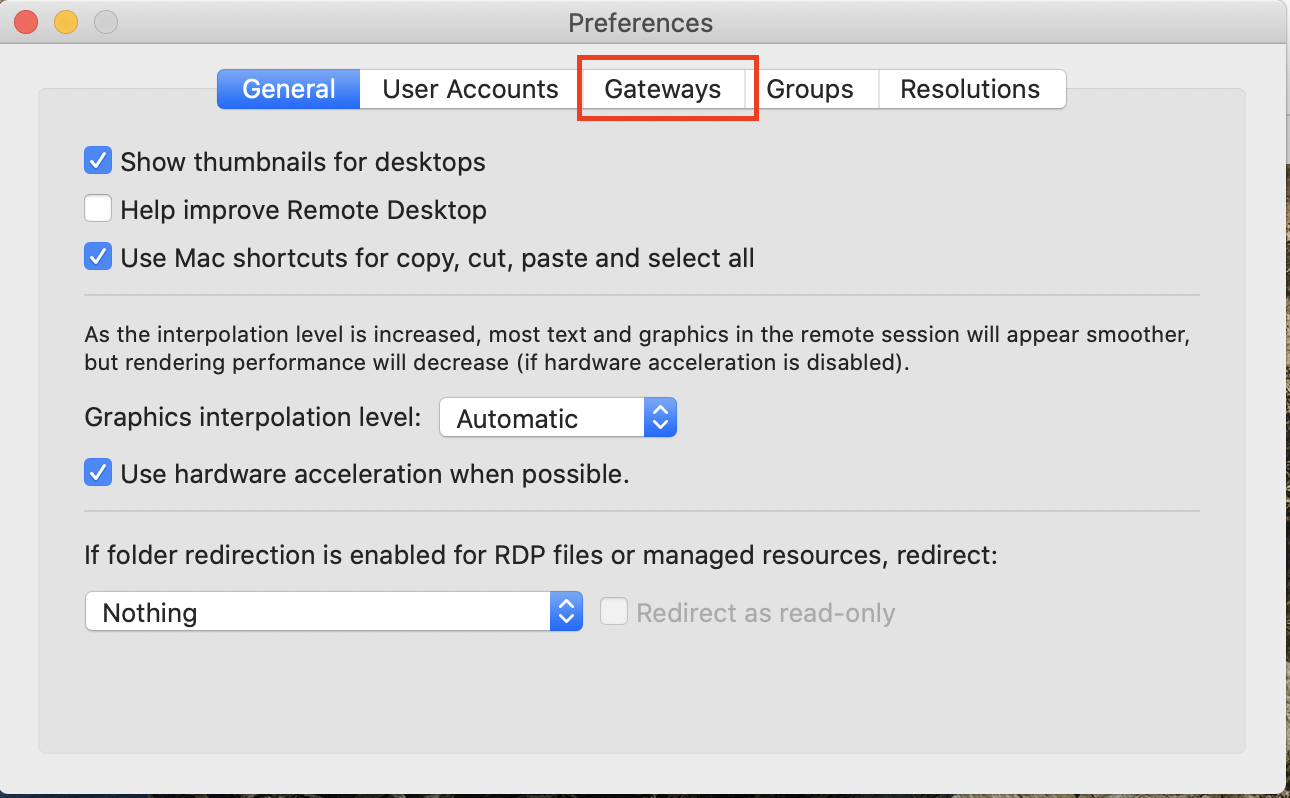
  3. From the Preferences window, click the Gateways tab
    Screenshot of the "Gateways" tab in a software preferences menu, highlighting options related to remote desktop settings and graphics interpolation.

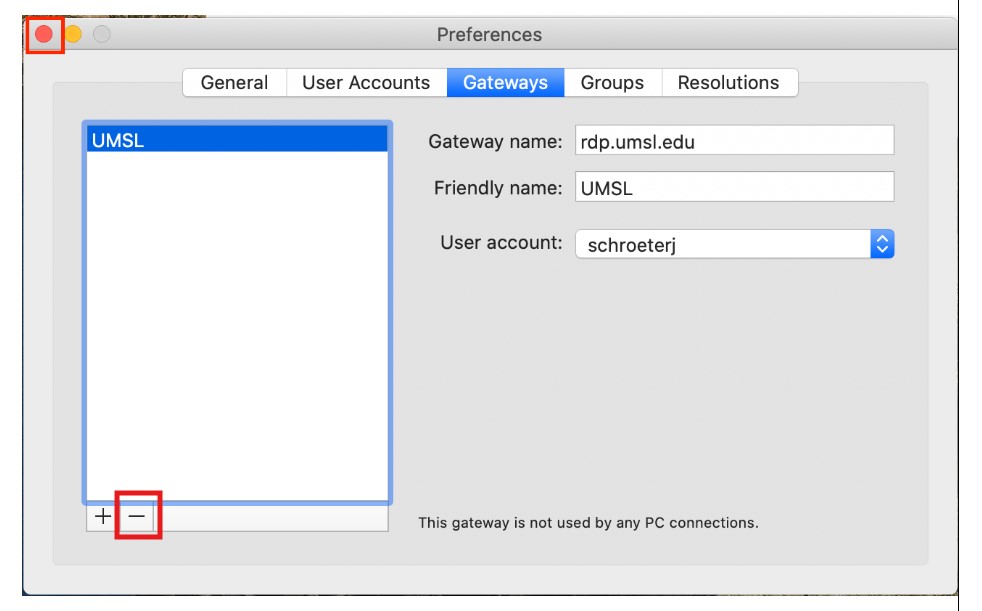
  4. On the Gateways tab, if you have the old rdp.umsl.edu, hit the - to delete it.
    Screenshot of the Preferences window showcasing Gateway settings with options for adding and removing gateways.


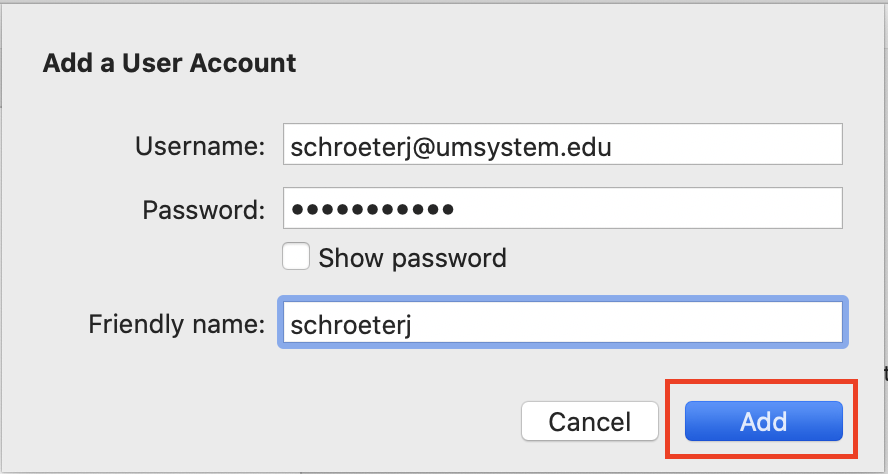
  5. Enter User name as SSOID@umsystem.edu, with your SSO password. The Friendly name is optional. Click Add.

    Login form for adding a user account with fields for username, password, and friendly name, including an "Add" button.

  6. Close Preferences by clicking the red Close button.
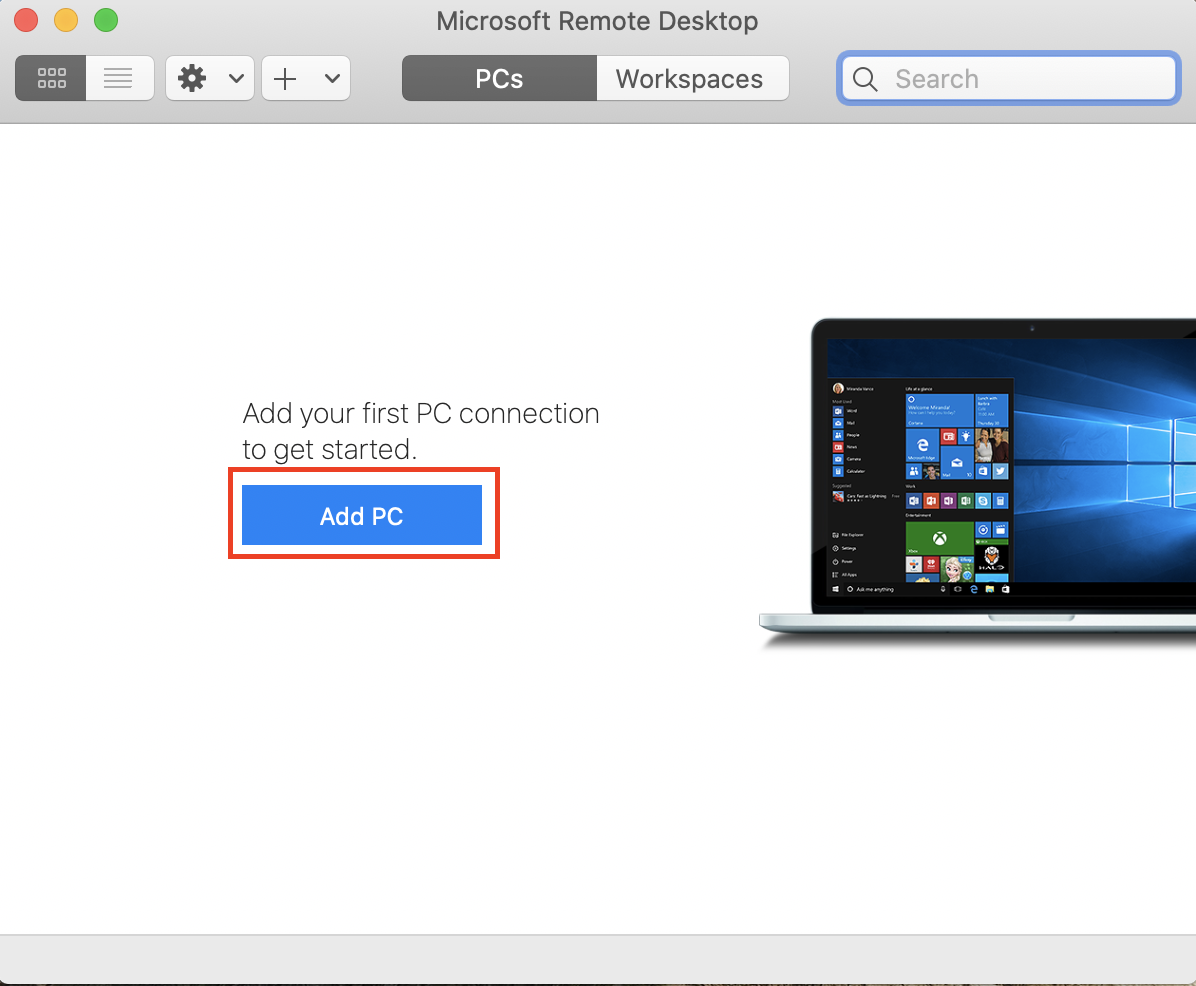
  7. Click Add PC
    Screenshot of the Microsoft Remote Desktop application showing the option to "Add PC" for creating a new connection.

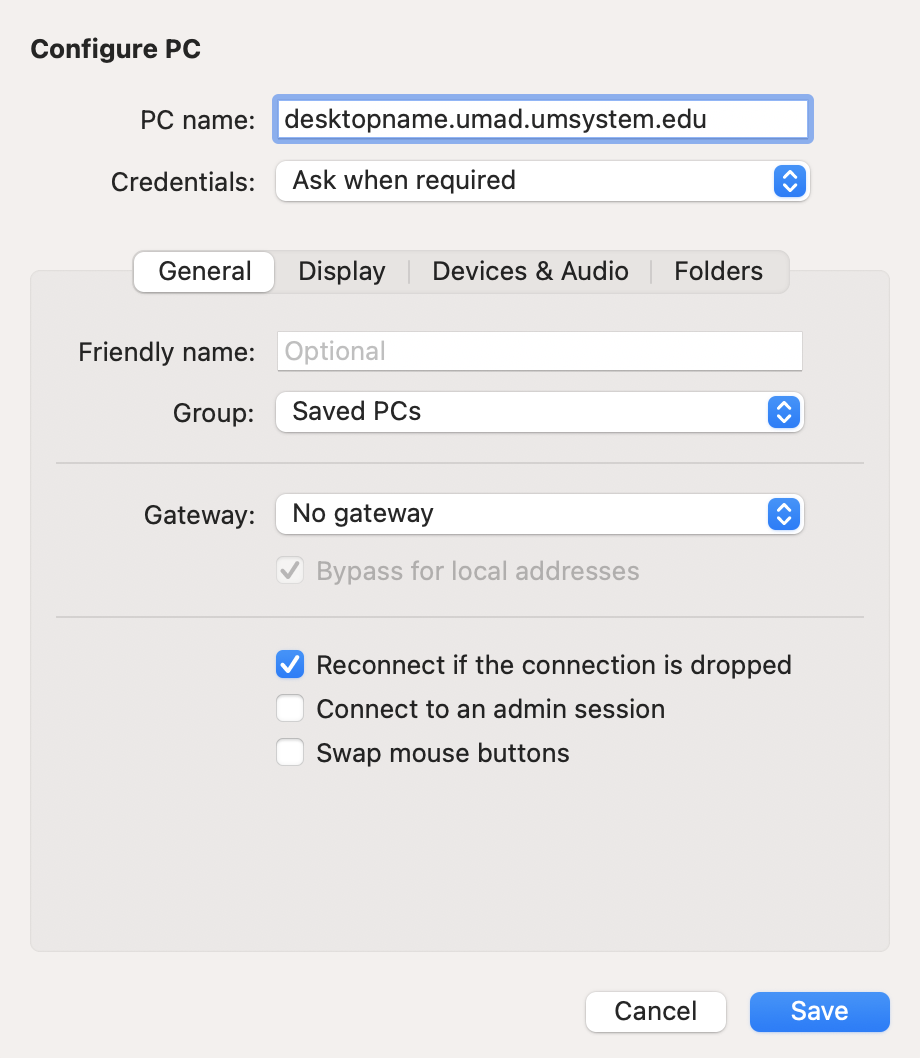
  8. Enter the PC name, select the User account and Gateway you created, then click Add
    Screenshot of the "Add PC" dialog box featuring fields for PC name, user account, and options for grouping and gateway settings on a Mac interface.

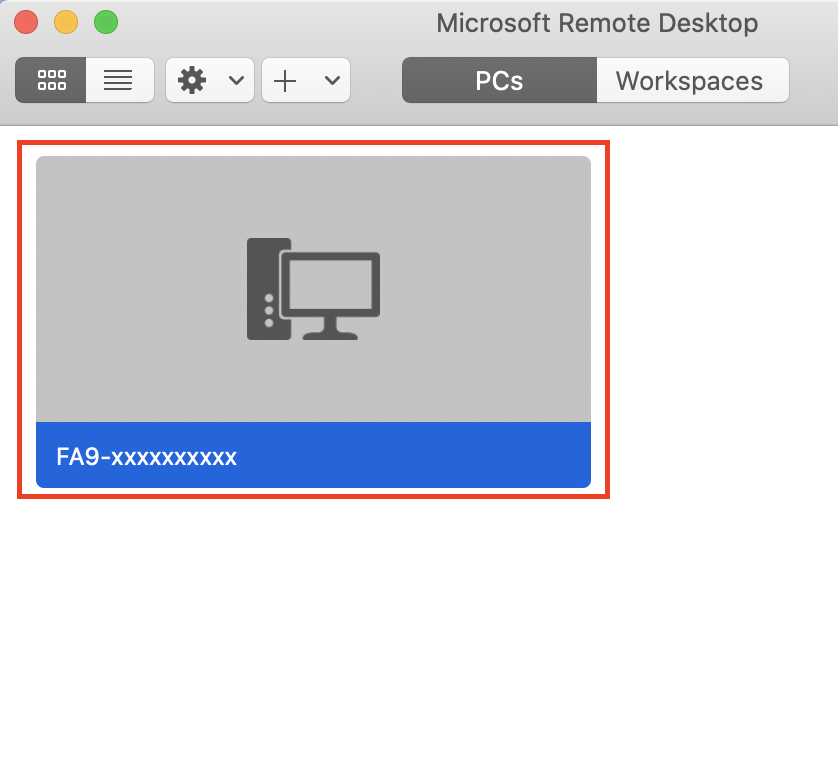
  9. Click the connection with the desired computer name
    Microsoft Remote Desktop interface showing a PC connection option labeled FA9-xxxxxxxxxx.

Follow any prompts you may receive.  If prompted to Verify Certificate, review the host name and click Trust then Continue.