Skip to Main Content
University ofMissouri–St. Louis
Apply
Request Info
Give
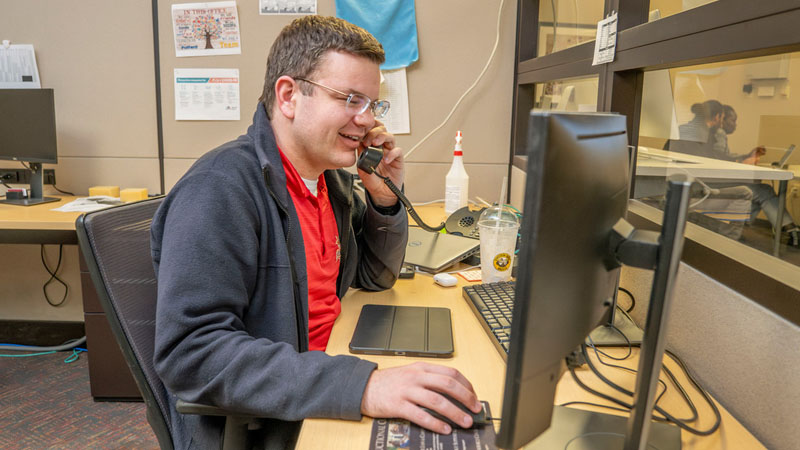
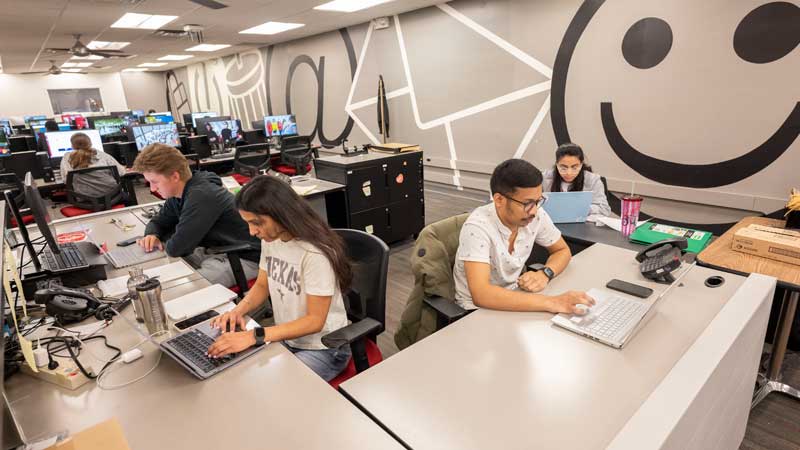
Information Technology Services
Get Support
Technology Support Center
Password & Single Sign On (SSO)
Help Desk Portal
UMSL Email Instructions
Open a Support Ticket
Check on Status of Services
ITS Assistance Request Form
Get Connected
Connect to Internet & Network
MyGateway (Canvas, MyView, etc.)
Multi-Factor Authentication
Telephone Services
UMSL Email Login
Zoom
Get Technology
UMSL Computer Program (UCP)
Technology Procurement/Dept. Computers
Software Center/Self Service
Microsoft 365
SharePoint
About
Departments
Directory
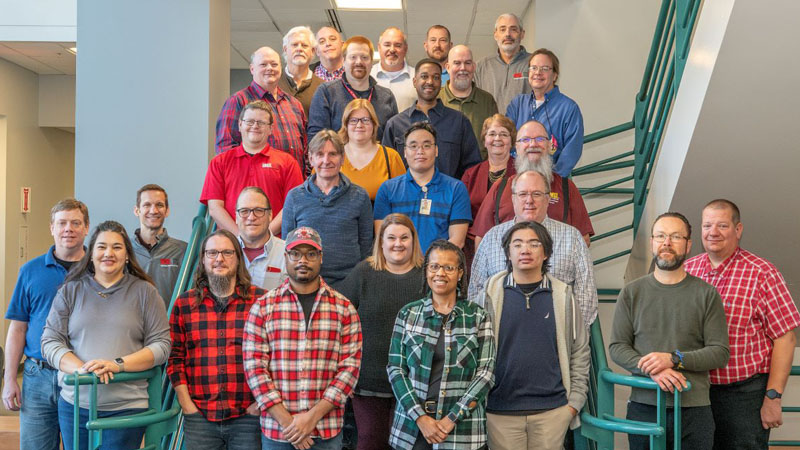
ITS Employee Awards and Recognitions
Mission
Newsletters
Policies
Student Focused
Lab Locations
Student IT Resources
Student Software
Student Technology Guide
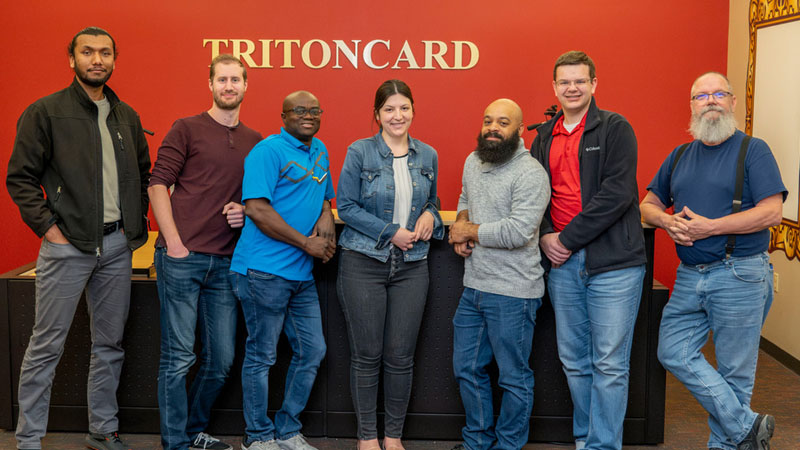
Triton Card
Triton Printing
Faculty/Staff Services
Faculty/Staff IT Resources
Technology Services
Desktop Administrator Access
Remote Desktop Access
IT Instructional Support
Changing Campus Address/Phone
Current Page:
Information Technology Services
Information Technology Services
Get Support
Technology Support Center
Password & Single Sign On (SSO)
Help Desk Portal
UMSL Email Instructions
Open a Support Ticket
Check on Status of Services
ITS Assistance Request Form
Get Connected
Connect to Internet & Network
MyGateway (Canvas, MyView, etc.)
Multi-Factor Authentication
Telephone Services
UMSL Email Login
Zoom
Get Technology
UMSL Computer Program (UCP)
Technology Procurement/Dept. Computers
Software Center/Self Service
Microsoft 365
SharePoint
About
Departments
Directory
ITS Employee Awards and Recognitions
Mission
Newsletters
Policies
Student Focused
Lab Locations
Student IT Resources
Student Software
Student Technology Guide
Triton Card
Triton Printing
Faculty/Staff Services
Faculty/Staff IT Resources
Technology Services
Desktop Administrator Access
Remote Desktop Access
IT Instructional Support
Changing Campus Address/Phone
Information Technology Services
Information Technology Services
Get Support
Technology Support Center (Fac/Staff/Stu)
Password & Single Sign On (SSO)
Help Desk Portal
UMSL email Instructions
Open a Support Ticket
Check on Status of Services
ITS Assistance Request Form
Get Connected
Connect to Internet & Network
MyGateway (Canvas, MyView, etc.)
Multi-Factor Authentication
Telephone Services
UMSL email Login
Zoom
Get Technology
UMSL Computer Program (UCP)
Technology Procurement/Dept. Computers
Software Center/Self Service
Microsoft 365
Microsoft Teams
SharePoint
About
Departments
Directory
ITS Employee Awards and Recognitions
Mission
Newsletters
Policies
Student Focused
Lab Locations
Student IT Resources
Student Software
Student Technology Guide
TritonCard
TritonPrinting
Faculty/Staff Services
Faculty and Staff IT Resources
Technology Services (Qualtrics, Kuali, etc.)
Desktop Administrator Access
Remote Desktop Access
IT Instructional Support
Changing Campus Address/Phone Number
Contact Us